Showing posts with label DIY. Show all posts

Sunday, March 24, 2013

Hair-y situations...

I've never been one of those women that made sure to be at the salon every six weeks to freshen my cut. I do mean never. I'm notorious for getting a super cute cut and letting it grow out.

I came from a home that didn't spend a lot, if any, on a haircut. For as long as I can remember, my mom gave us haircuts; my dad gave my mom haircuts; and my dad, well, he used a Flowbee. How many of you remember those?? When I got older, I'd spruce up mom's straight-across-the-bottom style by cutting bangs, but I was a Junior in high school before I visited a salon on my own. Sad, but true.

These days, I don't seem to have the time, money, or want to (honestly) to go to a salon. I cut my husband's and son's hair at home and have had my grandmother or mother-in-law cut my hair.

Tonight, I decided to venture out on my own. Armed with my laptop, YouTube, my shears, and some nerve; I decided to cut my own hair. It took a while, mostly watching video over and over, but I did it! I'm super pleased, too! I will be trying this again.

Just goes to show you can do anything you put your mind to.


Friday, February 1, 2013

Shoe fever!

It warmed to about 70 degrees earlier this week and Spring (and Summer) fever hit. Along with it came the realization that I need some cute skirts and accessories for the coming seasons. In my quest to make a comfy, cute skirt, I broke my sewing machine. The talented (and down right awesome) Mr. Ber helped fix it the best he could, but if I continue to sew I will eventually need a better machine. 

Of course, I've spent quite a bit of time blog hopping to find tutorials and gather new ideas. One of my favorites that I've come across is Sweet Verbena. Go check it out now! It's where I got the idea for the shoes. I believe I've mentioned before that once an idea has been planted in my head, I have to do it as soon as possible. Well, after stumbling across this tutorial for the second or third time, I decided it was time for me to try it. First, I need to state that prior to this experience I was terrified to work with dye; now I want to dye everything! Second, finding cheap shoes proved to be a little challenge. Our local Wal-Marts did have the shoe mentioned in the original tutorial, just not in my size. I ended up finding my slip-ons at K-Mart for $6. K-Mart also carries a white canvas shoe with laces that would be perfect for this up-style. I also went to several different stores before deciding on this dye that I purchased at Hobby Lobby. I used the 40% discount and got the dye for less than $2. Total cost: $8

Materials purchased.

I followed the directions on the dye packet.


Rinsed with cool water after an hour.
All rinsed off and ready to dry. Remember, it will dry lighter.


Here they are! Dry, bright, and blue! You can see how much lighter they became once dried. 


I'm going to end up with a rainbow of shoes in my closet. Oh, and if you can't find the right shade, head over here to the Rit website and use their color formula guide!

Go. Do. Create and enjoy!


Wednesday, January 30, 2013

Sew what?

I may have broken my sewing machine last night...and my heart. I got so flustered while trying to fix it that I just gave up. Hopefully, today will be better and I'll get it back up and running. I really want to complete a skirt by week's end and I'm not hand stitching the thing.


Sunday, January 20, 2013

Funky Decoration

I've been struggling the last couple of weeks to pick decorations for A's 4th birthday. She decided around Christmas that she would rather have a mermaid party than a princess party. I'm not sure any of you know, but in January it's incredibly hard to buy anything mermaid related. I knew I was going to have to make some things, but didn't realize how much I may have to make. Never fear, I love a craft...or five.

Yesterday's craft gave me an idea for funky little serving dishes for candy or whatnot. Originally, I was going to use clear glass bowls, then I saw these colorful little glass containers. The blue/green combination is going to work perfectly for the mermaid theme!

Supplies obtained at Dollar Tree (again!)
I followed the same directions I used to make the tiered storage trays. If you didn't see that post, click here for instructions. 

I made two and absolutely adore the way they tuned out. I can't wait to get more supplies and see what else I can create!

Go. Do. Create and enjoy!

Saturday, January 19, 2013

Super Cute Anything Organizer


I'm always looking for new storage ideas. What can I say? I am my mother's child. I originally got the idea from this pin and had to make one as soon as possible. I gathered all the supplies this afternoon and guess what! I spent just under $10 for everything! I made two of these tiered organizers for under $10 and with less than an hour of work.


Super Cute Anything Organizer


Supplies needed:

Dinner plate(s) - $1 each
Salad plate(s) or bowl - $1 each
Candle stick(s) - $1 each
Glass glue - or any glue that adheres to glass or ceramic -$3.99
Rubbing alcohol - I already had on hand (Free)

Supplies $10


I purchased everyone but the glue at one of our local Dollar Tree's and purchased the glue at Hobby Lobby for $3.99. You won't use a lot of glue for this project, so your $3.99 is going to go a long way. 


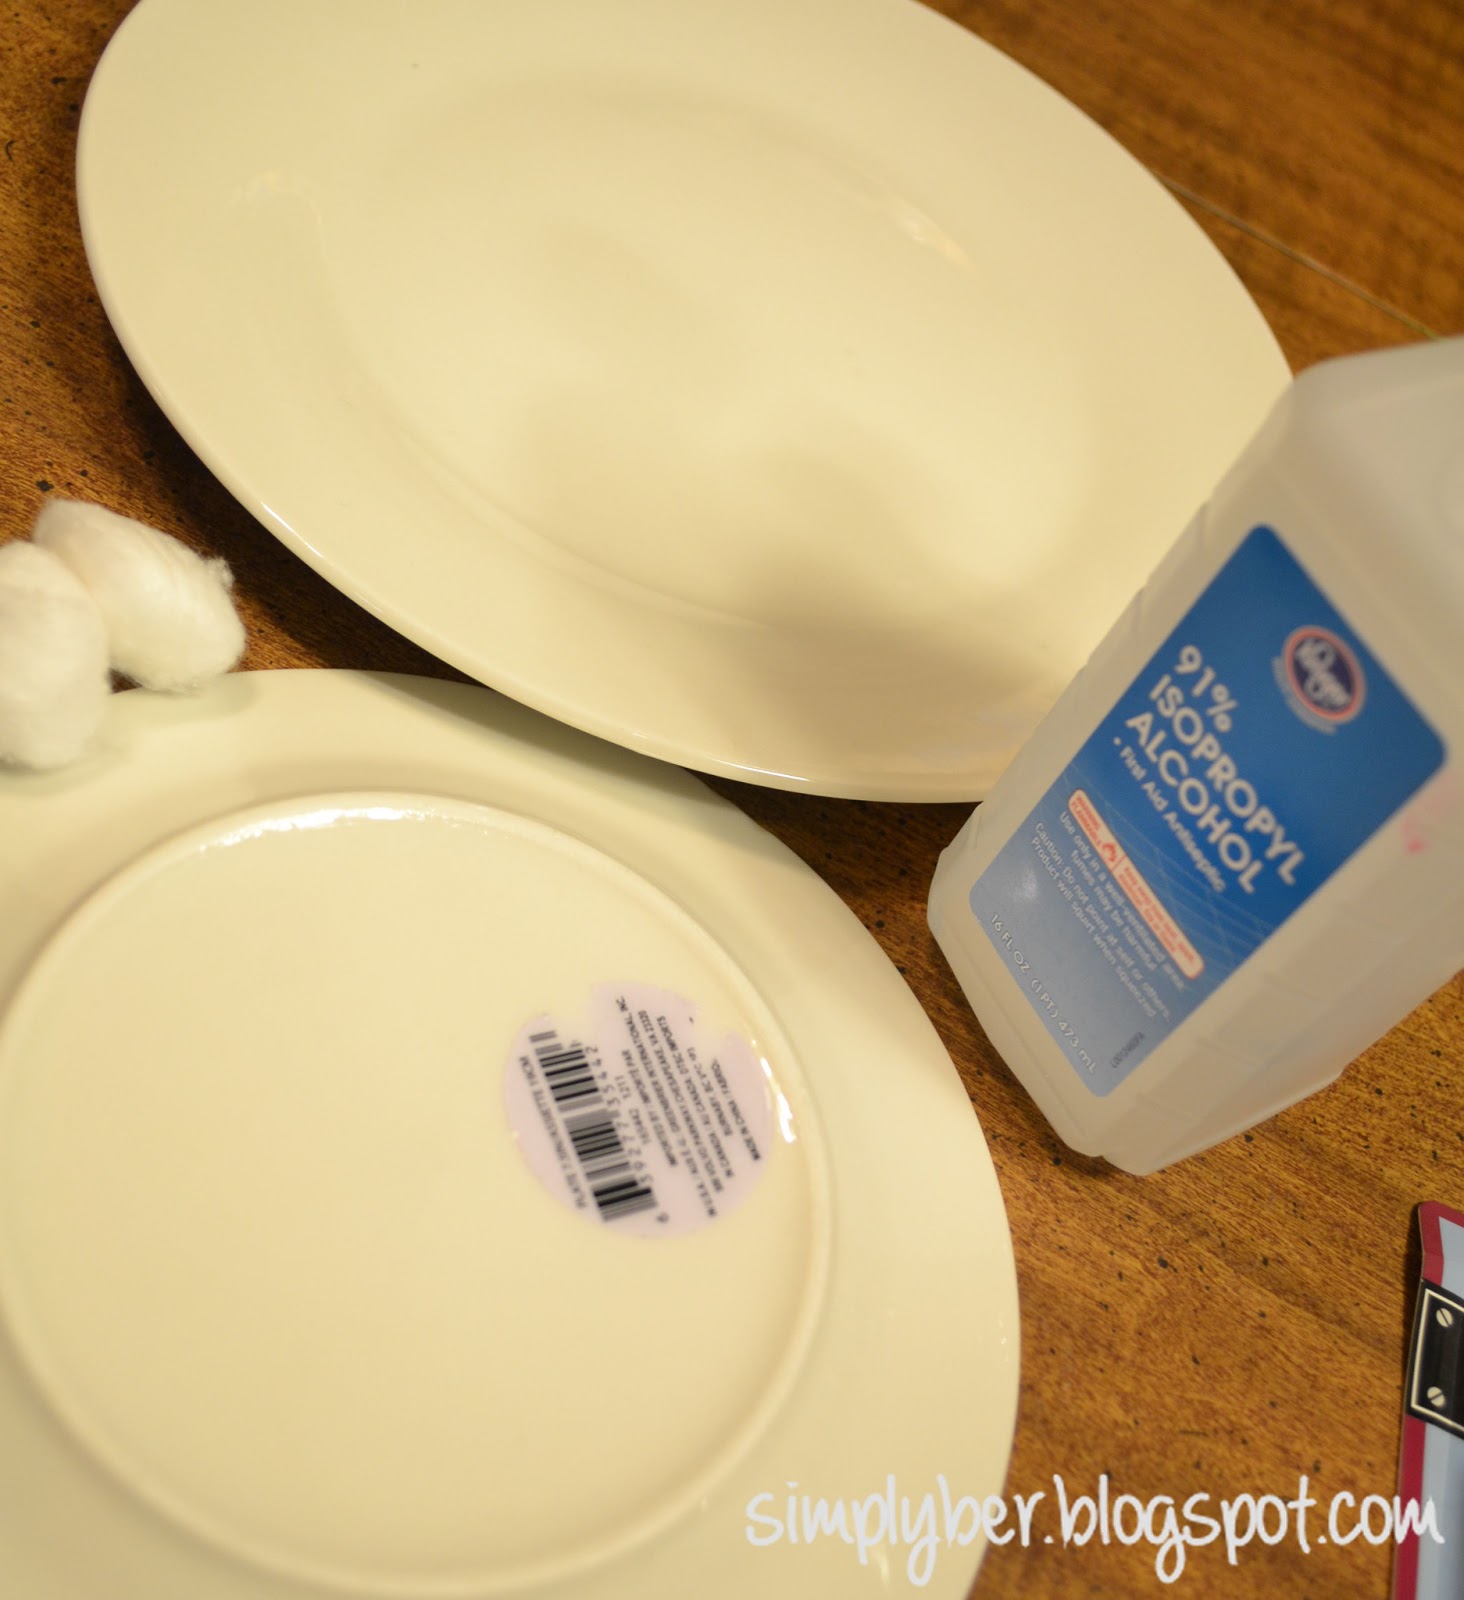
Clean your surfaces
 First, I wanted to make sure the surfaces that the glue would adhere to was clean! For this, I used the rubbing alcohol to remove any residue from the stickers when I peeled them off. 


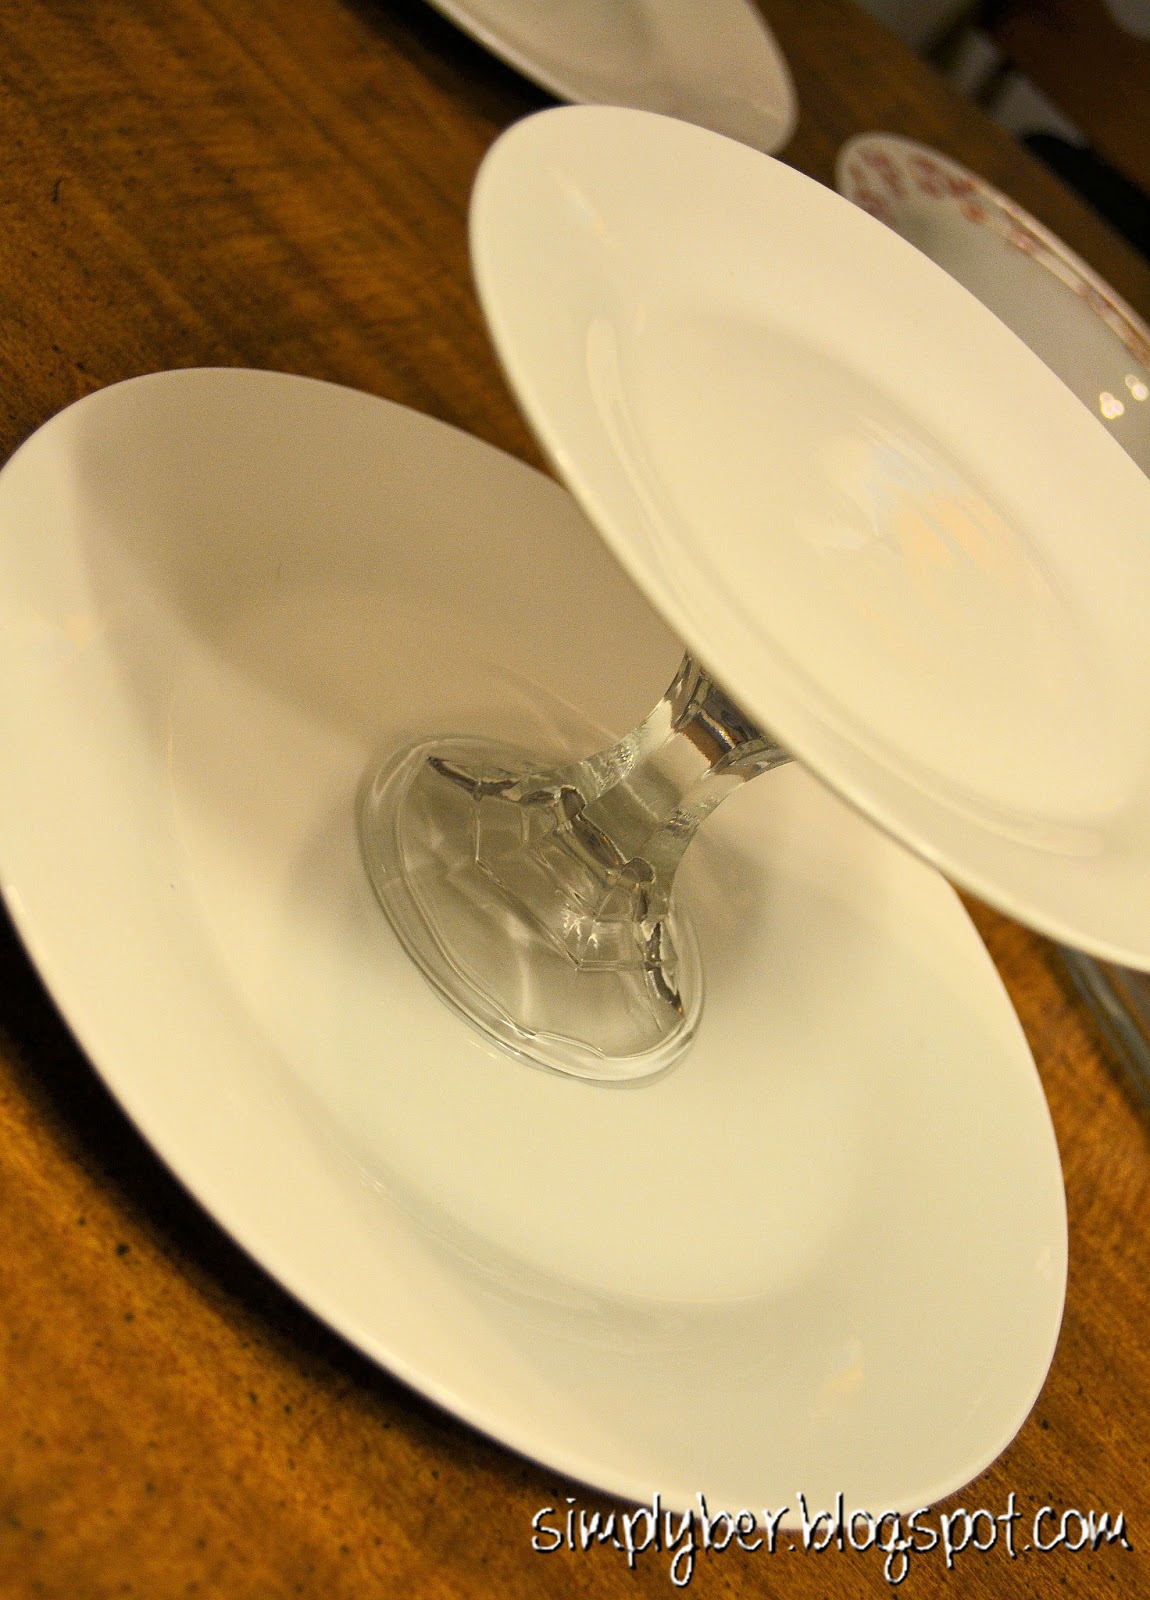
Next, I turned my salad plate and my bowl over and put glue around the edge of the smaller end of the candle sticks. Follow your glue's directions. Mine suggested giving the glue 1-2 minutes to set prior to adhering the two items. I also let my pieces set as shown for 10-15 minutes so that they wouldn't slide around when I turned them over to adhere the bottom to the dinner plate. Also, do this in a well ventilated area. My kitchen was not the best spot. 

Cute candy dish?
Honestly, at this point you could stop and have a really cute candy dish or whatever else your heart desires. I was testing to make sure my bowl wouldn't slide around while I was working with the bottom.


Place your glue around the edge of the wider end of your candle stick and carefully place into the center of your plate. Let dry! My glue said it's cure time is 24 hours. 

Bathroom organizer
The hardest part for me is the wait, so I carefully took this one into the bathroom to take a couple of pictures!

Go. Do. Create and enjoy!

DIY: Cute Anything Organization

Or cupcake stand. Lol. Versital, huh? Info to come.

Sunday, December 30, 2012

DIY: "Vicks" Shower Disks

I've lived in the south my entire life and my entire life, I've had problems with sinuses and allergies. It was nothing for my mom to rub Vicks all over my chest before bed, just so I could breathe. Occasionally, we experience all four seasons in our great state, but most of the time it seems to be an extended Spring/Summer/Autumn. This doesn't bode well for someone with sinus/allergy issues. As of late, my husband and I have been looking for relief. The other day, he told me about the old Vicks Vapor shower disks and how well they worked before they were pulled from shelves. Surely I could make something similar. Right? Pinterest, of course, had me covered!

I found the recipe below and whipped them up in no time. Seriously! They took, maybe, 40 minutes start to finish.

DIY "Vicks" Shower Disks

2 C Baking soda
2/3 C Water
Eucalyptus Oil - 15 to 20 drops (Other recipes call for rosemary and lavender also, but I opted for the one I had on hand)

You will also need a muffin pan and muffin /cupcake liners.

Mix all ingredients together, fill muffin liners, and let set 12-20 hours OR bake at 350 F for 30 minutes.

I baked mine, but I'm also impatient.


*Update: I got more relief mixing the stuff up than I did in the shower. I'm headed back to the store to get more oil and see if I can go about it another way.